Have you ever wondered if without expensive pump chambers is possible to build a powerful pulsed ND:Yag laser? The answer is yes
Some background
A minimal ND:YAG laser is built from the following parts:
– Gain medium, in this case Nd:CE:YAG crystal ~60$ (NEW) https://it.aliexpress.com/item/4000112748897.html
– Flash lamp / 808nm laser diodes ~30$
– Pump Chamber 200+$
– HR Mirror ~10$
– OC Mirror ~ 10$
Before you proceed
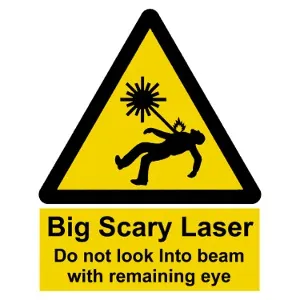
The above image says it all, buy proper safety goggles with proper ( OD7+ rating for 1064nm ) and test certificate, never get in a situation where the beam may directly or indirectly hit you, goggles are almost never rated for direct hit, only scatter / matte reflection.
Many metals will partially or mostly reflect the beam, also unlike laser diodes, beams from such lasers are very parallel to start with, so they need more care.
Flash lamp can explode, and can provide dangerous amount of light like the laser itself, never have it hooked up exposed!
Use a kind of safety goggles that completely covers your eyes area, the ones shaped like sub masks , the ones shaped like sunglasses are not safe at all because you may get hit from the side.

Flash lamps use voltages in excess of 500V DC , touching that can be as bad as a defibrillator, so it’s usually an experience you might want to avoid 🙂
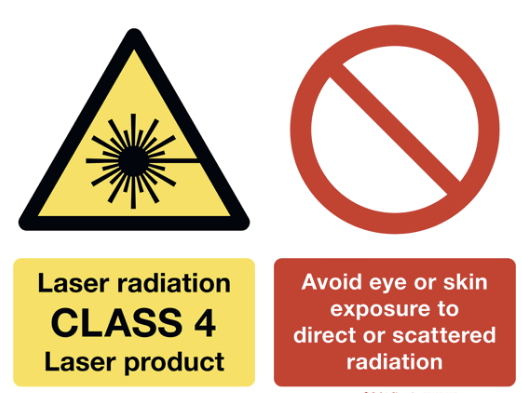
The laser i’m going to show here is class IV, which is highest risk class together with the fact that emitted radiation is invisible.
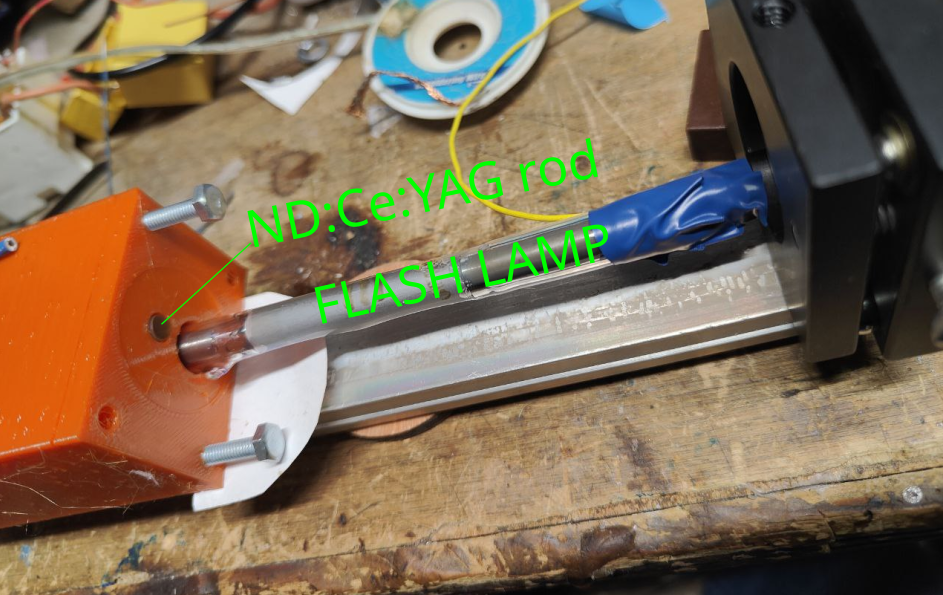
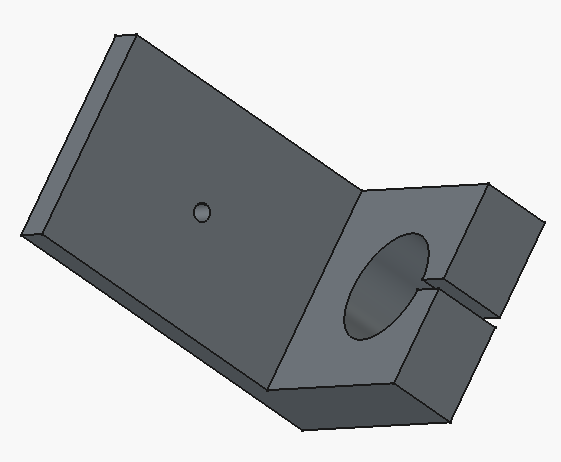
Pump chamber
That may be the trickiest bit, pump chambers usually have an elliptical shape, the reason is that if you place the lamp in one of the focal points, the other one will have all the rays gathered in one point, which is as you may guess ideal place to have the gain medium in.
Usually these are gold plated and have all sort of expensive / complex treatment, but here is the catch of such project, even if it shouldn’t be , we will get it working with just a 3D printer and some mirror foil from Amazon.
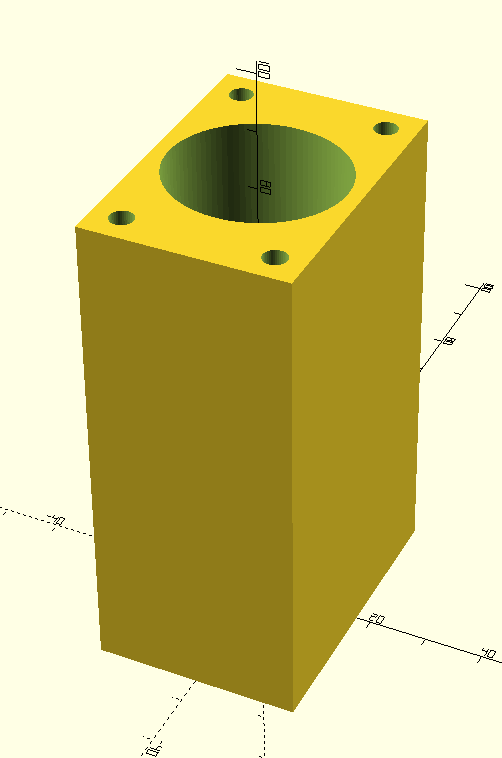
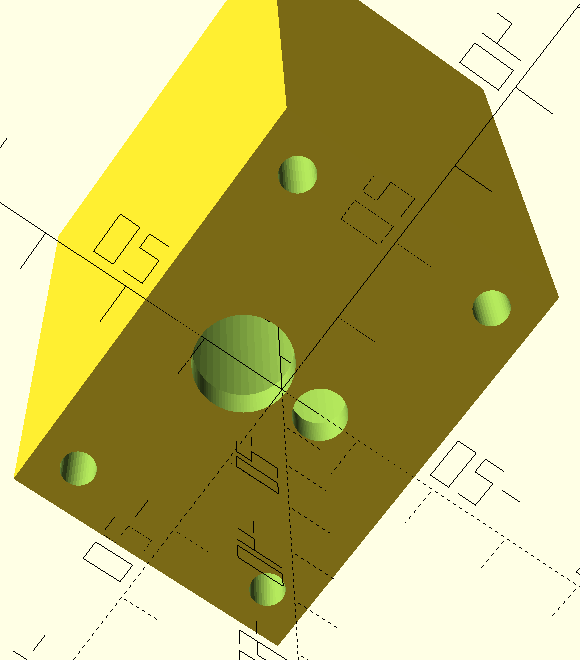
Below is the openscad code to generate the pump chamber
|
1 2 3 4 5 6 7 8 9 10 11 12 13 14 15 16 17 18 19 20 21 22 23 24 25 26 27 28 29 30 31 32 33 34 35 36 37 38 39 40 41 42 43 44 45 |
// Number of segments for smoothness segments = 200; // Generate ellipse module ellipse(a1, b1, a2, b2, c) { a = c / 2; // Semimajor axis x0 = (a1 + a2) / 2; // Center x-value y0 = (b1 + b2) / 2; // Center y-value f = sqrt((a1 - x0)*(a1 - x0) + (b1 - y0)*(b1 - y0)); // Distance from center to focus b = sqrt(a*a - f*f); // Semiminor axis phi = atan2((b2 - b1), (a2 - a1)); // Angle betw major axis and x-axis A = [ for (i = [0 : 2 * 360 / segments : 360]) [x0+a*cos(i)-b*sin(i)*sin(phi), y0 + a * cos(i) * sin(phi) + b * sin(i) * cos(phi)] ]; //echo(A); polygon(A); } // Render the ellipse W=30; H=50; L=78; dc = 10; //YAG - Lamp distance dia_cr = 6; dia_lamp = 11; difference() { translate([-(W+5)/2,-H/2,0])cube([W+5,H,L+5]); translate([0,0,5])linear_extrude(L){ ellipse(-dc/2,0,dc/2,0, W); } translate([-dc/2,0,0])cylinder(d=dia_cr,h=L+5*2, $fn=100); translate([dc/2,0,0])cylinder(d=dia_lamp,h=L+5*2, $fn=100); translate([-(W+5)/2,-H/2,0]){ $fn=40; translate([5,5,0])cylinder(d=4,h=L+10); translate([W,5,0])cylinder(d=4,h=L+10); translate([5,H-5,0])cylinder(d=4,h=L+10); translate([W,H-5,0])cylinder(d=4,h=L+10); } } |
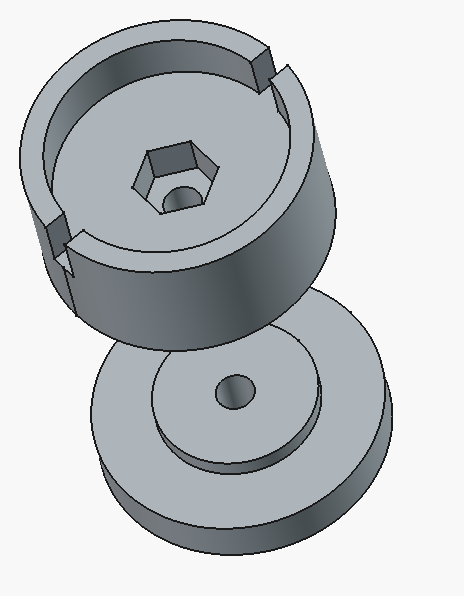
To make the two pieces you have two choices, quick and dirty is using Orcaslicer’s slice function, or the proper one is to render another one with H=5.

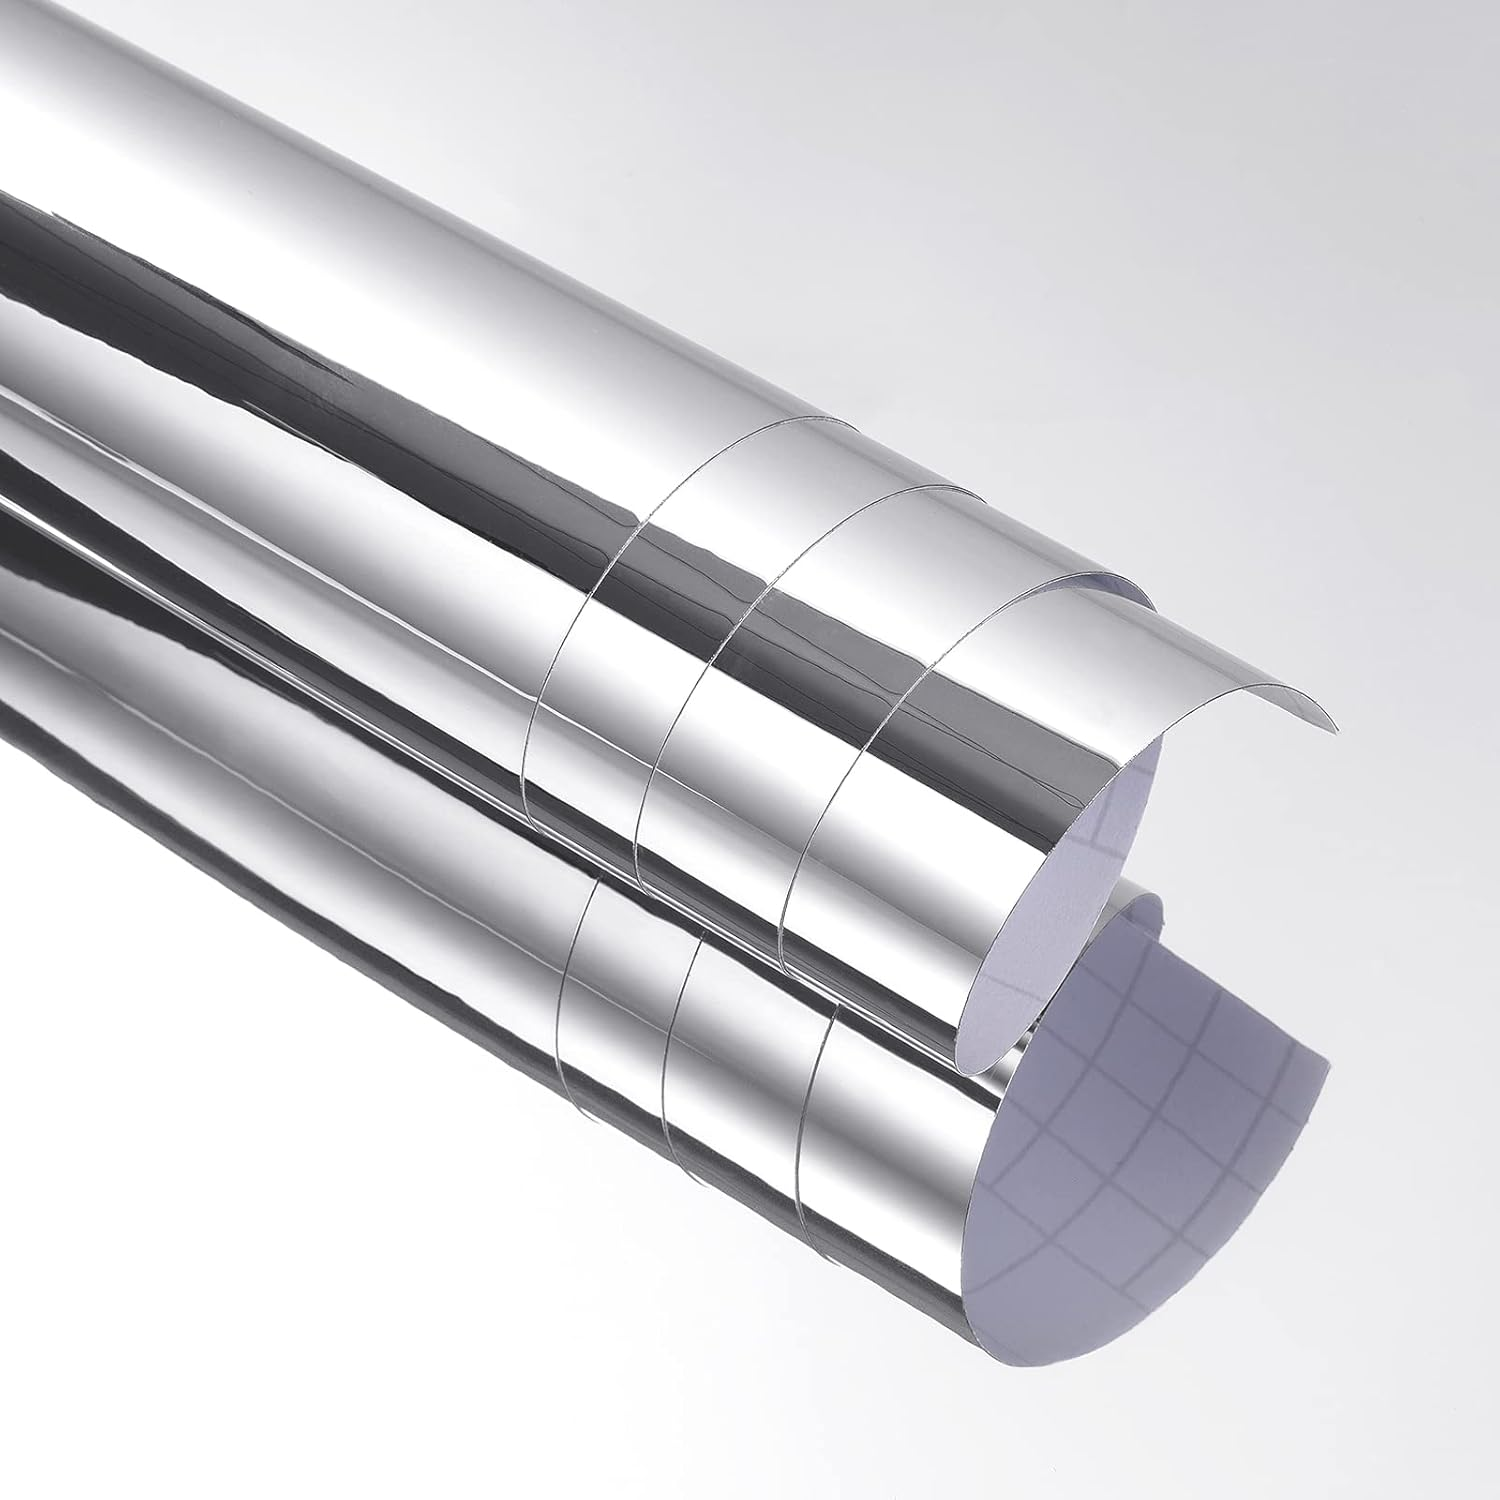
For the inside, you are going to need to use something like that, https://www.amazon.com/Stickyart-Flexible-Adhesive-Funhouse-Reflective/dp/B09NFFLQR8
Don’t bother sticking it, just make sure it is leaning against the elliptical wall.
To put it together use two m4 bolts per side.
Mirrors
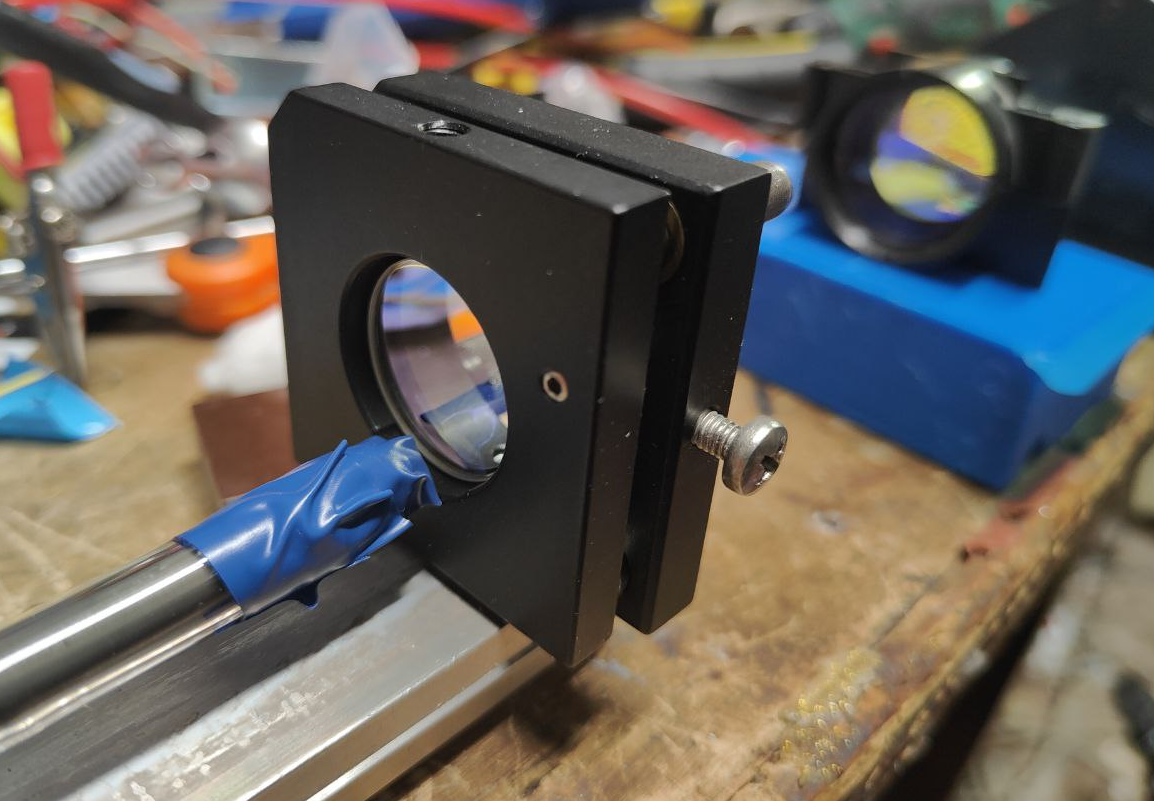
Once you have obtained, HR (99.9x% reflective ) and OC ( 50% ) mirrors, you are going to need a cheap way to align them, in my case for the OC i was lucky enough to have a Thorlabs mirror mount, so i used that one for OC since it is going to be output side of the laser and a CO2 laser mirror mount for the HR.
To install a 25mm mirror to the CO2 laser mirror mount i 3d printed a small adapter that paired with an M4 bolt and nut allowed me to install the mirror to the CO2 support meant for 20mm
Mirrors have to be installed so that the dielectric coating ( funky colors to say it easy ), is facing towards the YAG rod, in both sides.
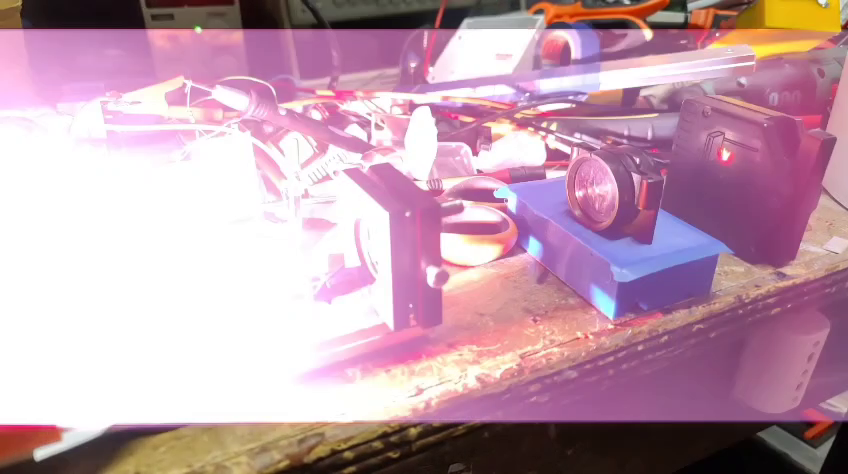
Whole assembly
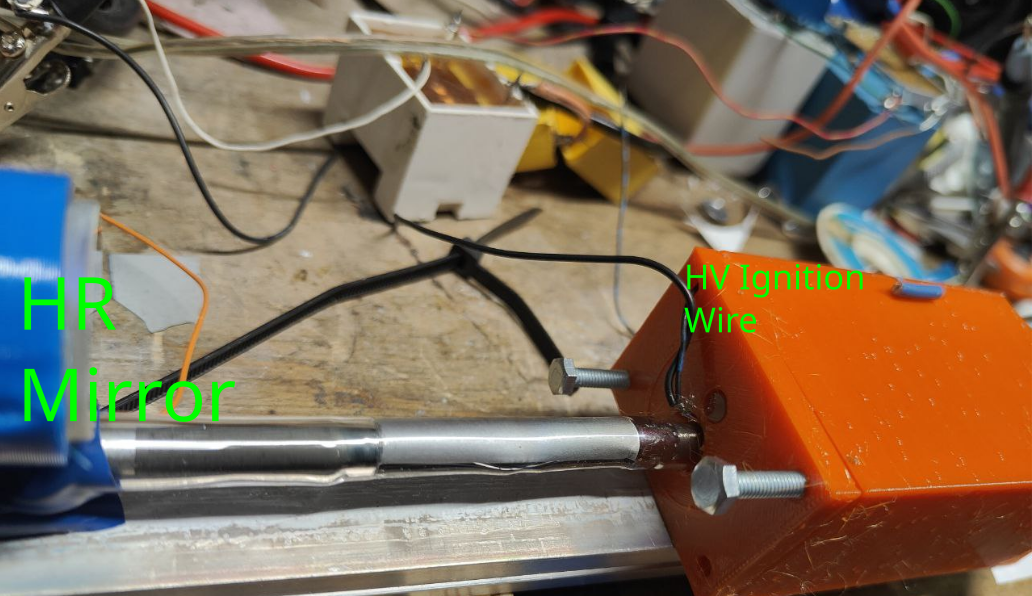
Electrical
To drive and trigger the flash lamp i used a DC/DC module from aliexpress to step up the voltage to +- 250V making a total of around 500V , together with around 200uF at 500V of MKP capacitors.
Below is the poorly hand-drawn schematic
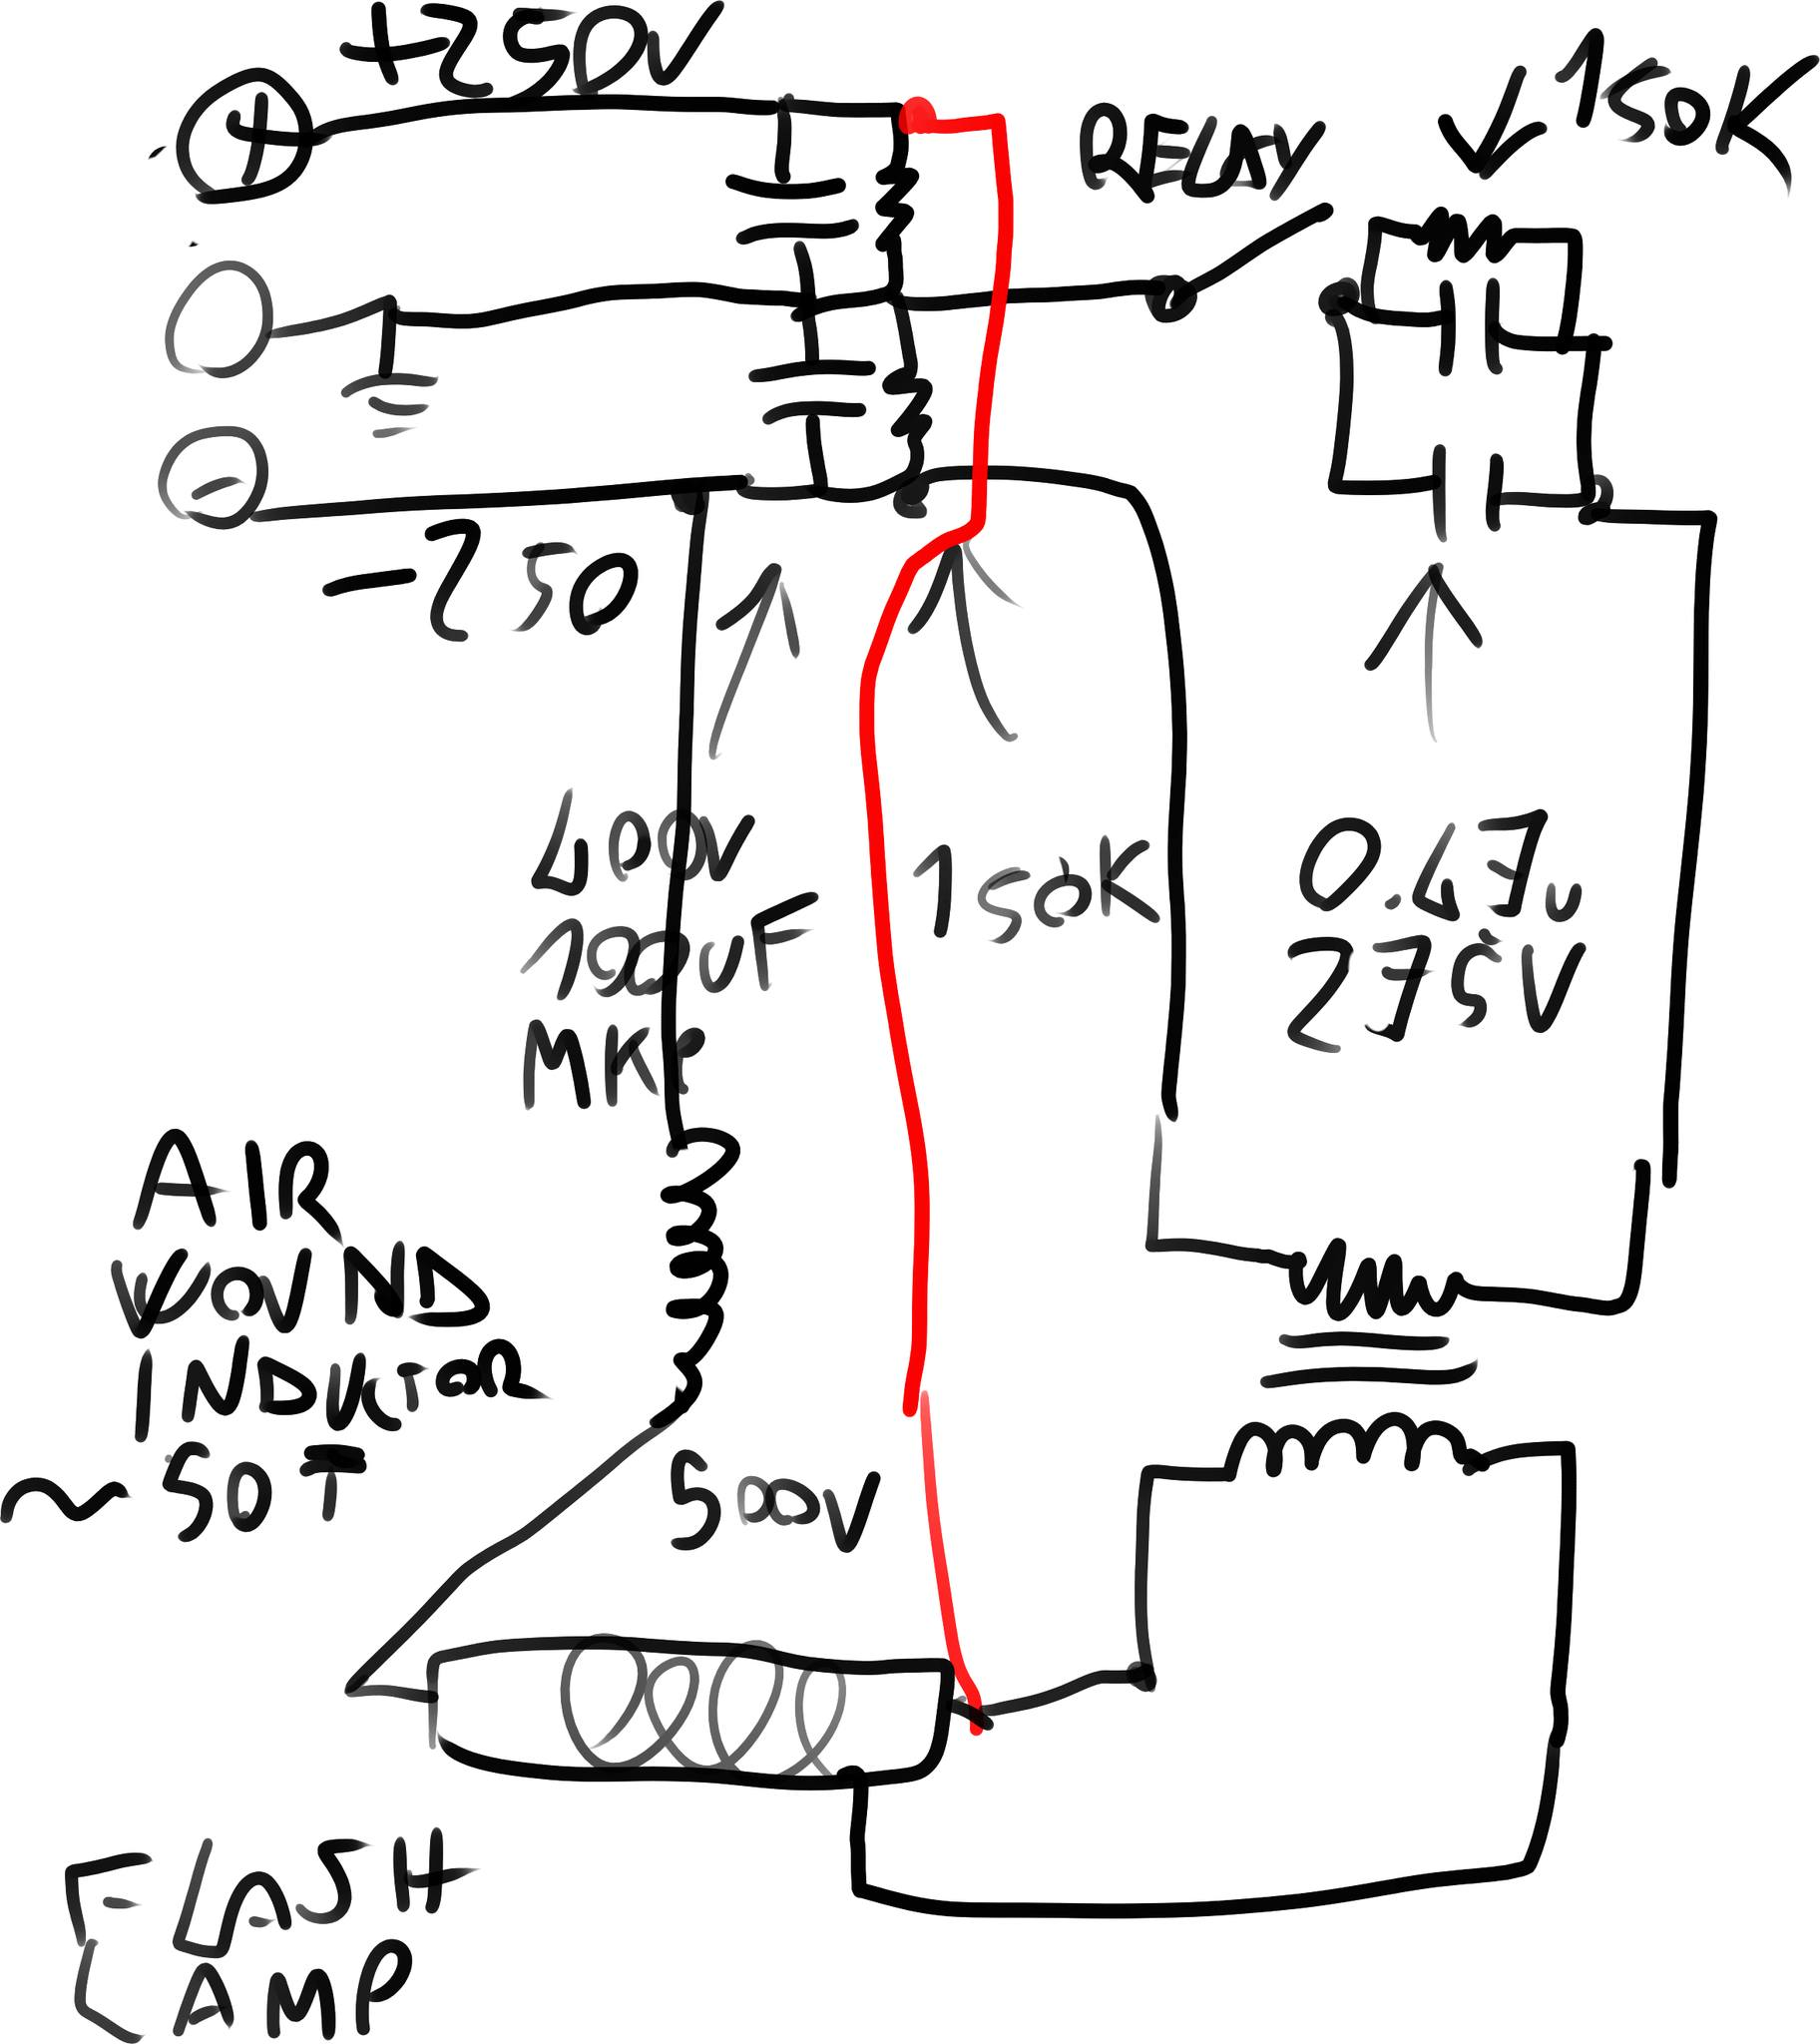
Beware to not omit the inductor, or you will likely blow up your lamp, ignition coil is from a gas boiler board, with the high failure rate they have nowadays, you will not have any trouble at all getting hands on them.
Caps have been added to reach 200uF since the schematic has been made.
Purpose of inductor is to both limit the peak current and thus avoid a nasty explosion, and to make the pulse length around 200uS which is similiar to the Nd doping fluorescence time, you may need to tweak it with the help of an oscilloscope+photodiode.
Mirror alignment
This part is pretty tricky, to make it easier you can obtain a laser collimator meant for newtonian telescopes like the one below
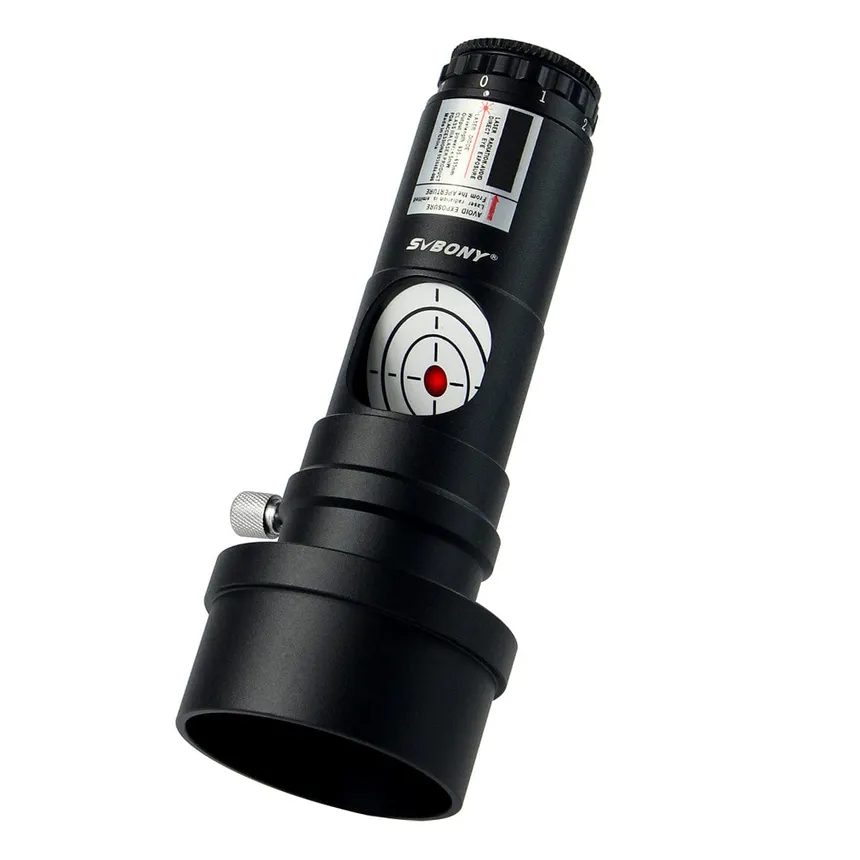
and use it on a tripod with the tripod mount 3d file i will provide at the end of article.
To align do the following procedure ( with plane mirrors – cheapest ones )
1. Make the beam as parallel as possible both horizontally and vertically to the whole assembly , especially the YAG crystal, that is crucial to obtain maximum output because tilted crystal will reduce aperture and working gain area, be sure to be at least 2 meters from the OC
2. Move the yag so that reflection is going back into the hole of the collimator, one of the dots will infact be the yag crystal’s face.
3. Adjust the HR mirror to go back into the yag crystal to start with, then carefully make it go inside the hole of the collimator. You may see two dots from that, try to adjust for the brightest one.
4. Adjust OC mirror to make the dot , in this case usually one, back into the hole too, once that is done you are ready to go.
I will also link this video ( not mine ) that explains it pretty well and helped me a lot
https://www.youtube.com/watch?v=HUzna8kHl4A
Have fun
Remember to have safety goggles on at all times while capacitors are charged, even a static discharge can trigger flash lamp!
Also the flash lamp used here, INP3-7/80, is meant for water cooling, so if you use it like here without water, do at most like 10 shots , and let it rest some minutes, even the YAG will get surprisingly hot.